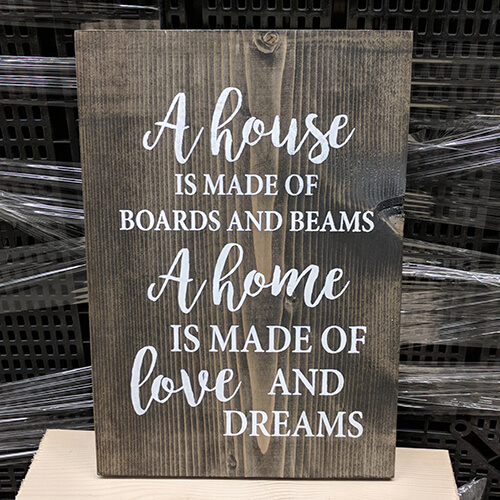
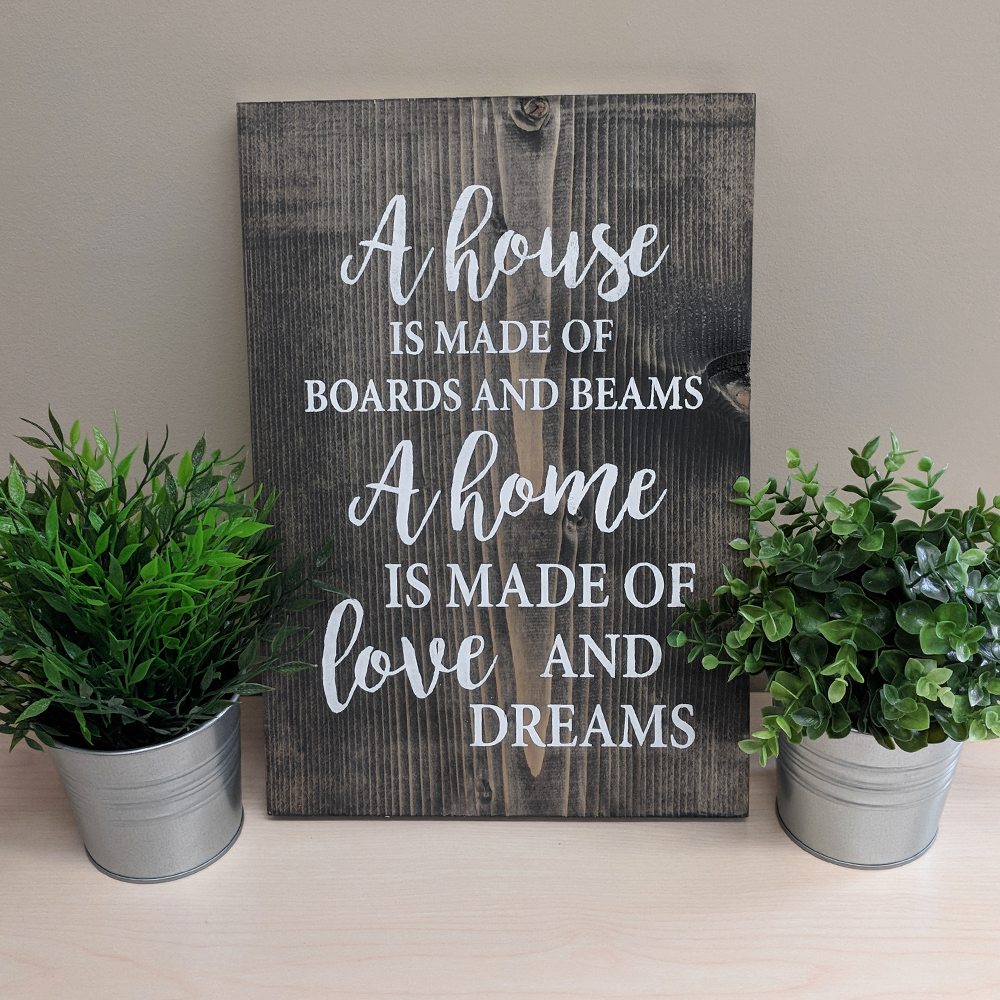
You’ve seen the beautiful wood signs that line the aisles of every home decor store. Below we’ll show you exactly how you can stain and paint a personalized wood sign for your home.
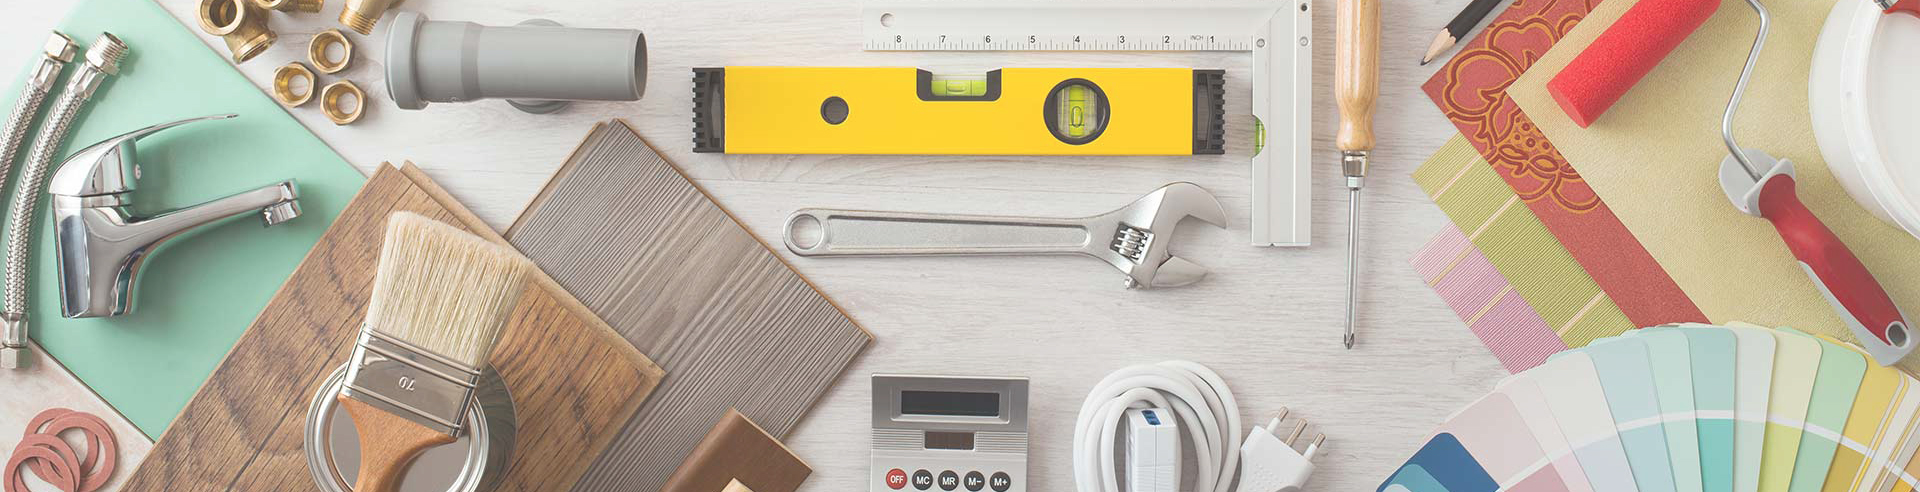
MATERIALS
- 1×12″ spruce cut to approximately 12×17″
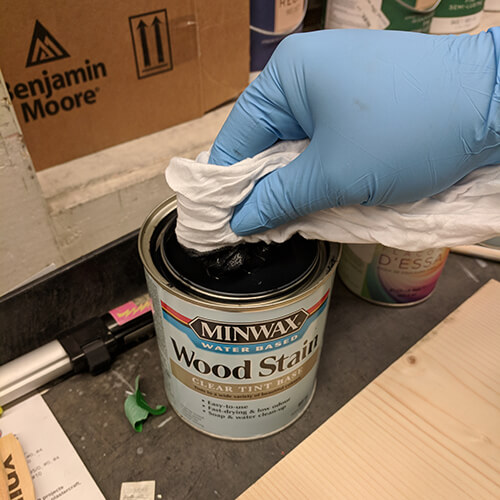
- Water based stain tinted in your desired color (we used Minwax water based stain in Onyx)
- White acrylic or latex paint (we used Benjamin Moore Color Samples in Oxford White)
- Vinyl stencil (if you don’t have a Cricut or Silhouette Cameo to create your own stencil, they are also available locally through Colours by Rana or A Bird & A Brush)
- Glad Press ‘N’ Seal
- Sponge brush or makeup sponge
- Cotton rags
- Plastic card (a gift card or credit card will work)
- Utility knife
- Sandpaper
- Disposable gloves (optional)
DIRECTIONS
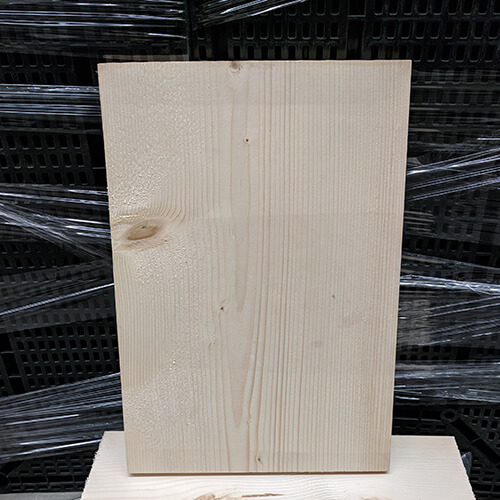

- Lightly sand the edges of your spruce board to smooth out any splinters from the cut.
- Apply the water-based stain to your wood board with a cotton rag using a “wipe on, wipe off” technique: a) start with a small section and apply the stain in a light layer; b) use a clean rag to wipe off the excess stain. Make sure to always wipe the cloth in the direction of the grain (in this case, lengthwise) to ensure a more even finish. Don’t be scared to wipe off too much stain – you can always darken the color by adding more stain later, but it’s more difficult to lighten the color after it’s applied. In the instance that you do add too much stain and you want a lighter color, you can dilute some of the color by wiping warm water over the stain. Remember, you have to be quick; the water-based stain dries quickly (anywhere between 5-25 minutes depending on how much stain you’ve applied).
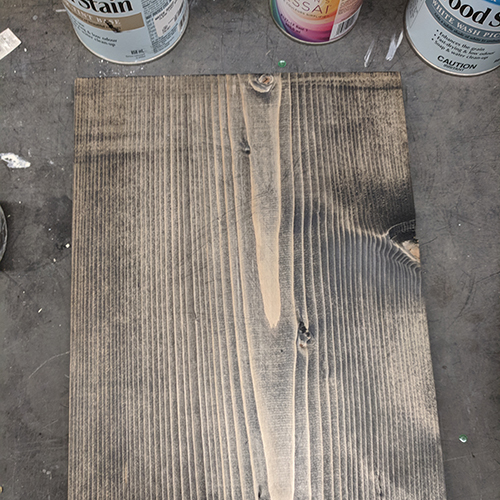
- Make sure to stain ALL sides of your board. The stain will act as a “seal” and will prevent your board from warping.
- Set your board aside to dry for 5-25 minutes. You want your board to be dry to the touch before applying the decal.
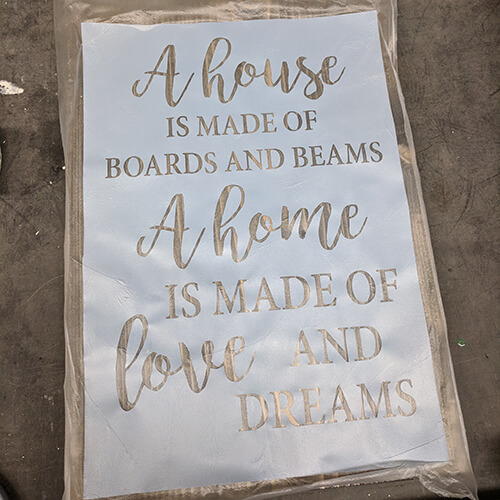
- While you wait for your board to dry, remove all the negatives from your vinyl. You’ll want to remove any letters or designs from the vinyl backing that you intend on painting.
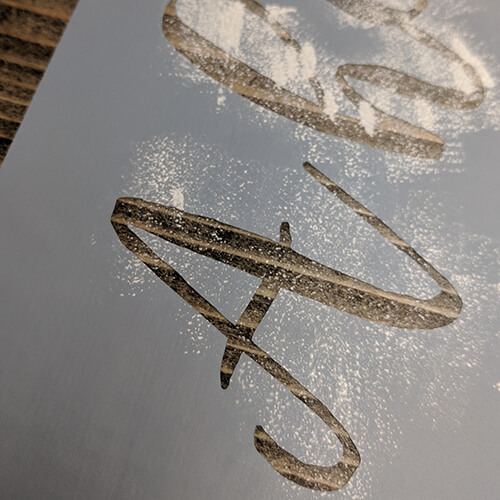
- Cut a piece of Press ‘N’ Seal to fit your vinyl. Lay the tacky side of the Press ‘N’ Seal down over the top of your vinyl. Gently rub a plastic card over the Press ‘N’ Seal to help it stick to your vinyl. It’s important that you press the small little pieces (ie- inside the ‘A’) really well.
- Starting from one corner, peel off the vinyl backing in a diagonal direction. Your vinyl should stick to the Press ‘N’ Seal. If you see some of the vinyl stick to the backing, rub the Press ‘N’ Seal again to make sure the vinyl sticks to the Press ‘N’ Seal. Once the vinyl backing is removed, your stencil should look like this:
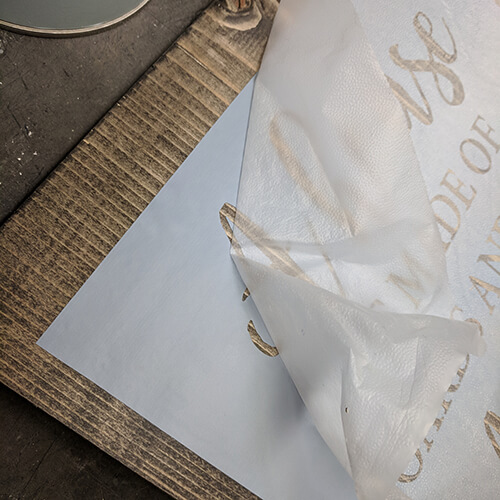
- Center your vinyl on your board and use your plastic card to apply the vinyl. It’s best if you start from the center and work your way out to the edges. Make sure to press out all the air bubbles so your vinyl is completely flat on your board to prevent any bleeding.
- Start at one corner and slowly peel away the Press ‘N’ Seal. The vinyl should stay stuck to your board as you pull the Press ‘N’ Seal away. If the vinyl doesn’t stick to the board, lay the Press ‘N’ Seal back down and scrape the area with your plastic card until it sticks.
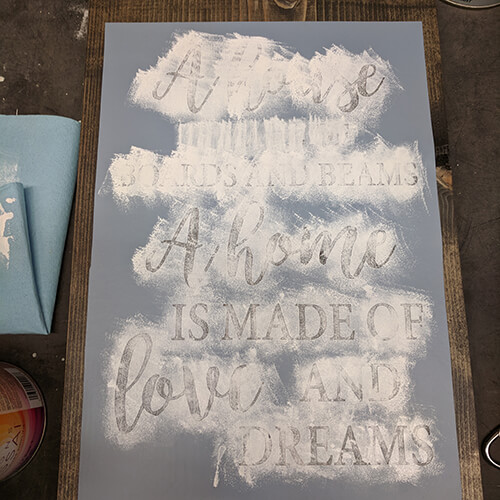
- Now you are ready to paint! Using a foam brush or makeup sponge, apply a light layer of paint to the stencil in a dabbing motion. It’s best if you blot the excess paint off your brush before you start painting. It should feel like you’re dry brushing the stencil. Light layers will prevent the paint from seeping under the stencil and bleeding.
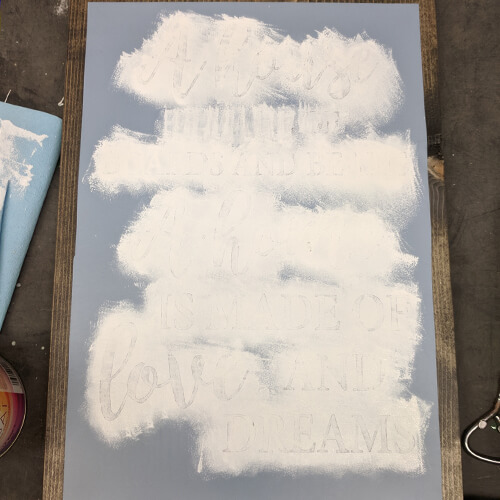
- Let the paint dry and add a second layer.
- Continue to add layers of paint until you reach your desired opacity:
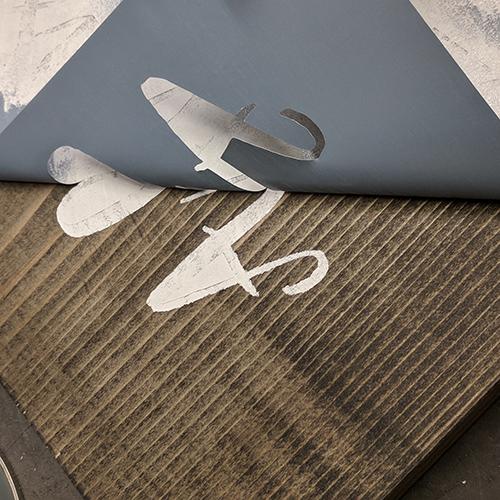
- Once your paint is mostly dry, remove the stencil by peeling away a corner and pulling in a diagonal direction.
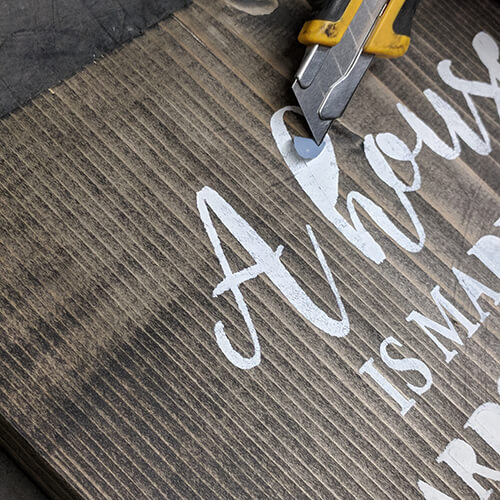
- Remove any remaining stencil negatives from your board using a utility knife.
- When you’re done, your sign should look something like this: